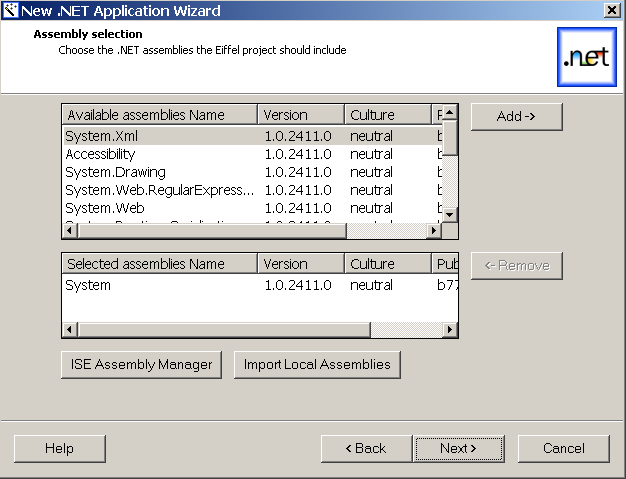
The fourth screen of the .NET wizard enables you to select the .NET assemblies you want to add to your .NET application.
A list of available assemblies appear at the top of the window.
To add an assembly to your application, just select the assembly by simple-clicking on the corresponding row in the list and click on `Add': the selected assembly will appear in the list of selected assemblies and be removed from the list of available imported assemblies.

Note that the kernel assembly (`mscorlib.dll') does not appear, neither in the list of available assemblies, nor in the selected ones. In fact, the wizard automatically includes it for every application, since it would not compile otherwise.
There is still a button at the bottom of the window we have not mentioned yet: the `ISE Assembly Manager' button. As you probably already guessed, it enables you to launch ISE Assembly Manager executable. Thus you will be able to import other assemblies if you do not find the one you are looking for in the list of available assemblies.
For more information about ISE Assembly Manager, see the corresponding help topics by clicking here. Among others, the following topics should help you:
When you close ISE Assembly Manager, the .NET Wizard will check for newly imported assemblies and automatically select them if any. Of course, you can choose to unselect them. To do so, just select the row you want to remove in the selected assemblies and click `Remove': the assembly will be removed from the list of selected assemblies and reappear among the available assemblies.